Welcome to the “Flying Owl” tutorial, an exciting extension activity following our first “Floating Girl” tutorial in Photopea. In this project, you’ll build upon the skills you’ve already developed, diving deeper into advanced techniques of masking in layers and utilizing non-destructive adjustment layers.
Objective: Create a surreal composite image of an owl in flight, seamlessly integrated into a dreamlike environment. This project will challenge you to refine your masking skills and explore the creative possibilities of non-destructive adjustments.
What You’ll Learn:
Advanced Masking Techniques:
Refine your ability to isolate complex shapes using layer masks.
Learn how to use different selection tools and refine edges for a more polished look.
Non-Destructive Adjustment Layers:
Discover the power of adjustment layers to enhance your images without permanently altering the original pixels.
Experiment with brightness, contrast, hue/saturation, and color balance to create a cohesive and captivating composition.
Steps to Success:
Source Your Images:
Find high-quality images of an owl in flight and a suitable background that fits your dreamlike vision.
Ensure the images are royalty-free or properly credited.
Masking the Owl:
Use the selection tools to carefully isolate the owl from its original background.
Apply a layer mask to remove the background, refining the edges for a natural integration.
Creating the Dreamscape:
Import your background image and place the masked owl into the scene.
Use blending modes and adjustment layers to harmonize the elements, making the owl appear as part of the environment.
Non-Destructive Enhancements:
Apply adjustment layers to adjust the brightness, contrast, and colors of both the owl and the background.
Experiment with different settings to enhance the surreal quality of your composition without altering the original layers.
Final Touches:
Add additional elements such as clouds, light effects, or other dreamlike features to complete your artwork.
Use layer masks and adjustment layers to ensure all elements blend seamlessly.
Tips:
Save your work frequently and use layer groups to keep your project organized.
Don’t be afraid to experiment with different adjustments and effects to achieve your desired look.
Review and refine your masks to ensure clean and natural edges.
By the end of this tutorial, you’ll have created a stunning surreal composition featuring a flying owl, honing your skills in masking and non-destructive adjustments in Photopea. Enjoy the creative process and let your imagination soar!
The Flying Owl Tutorial
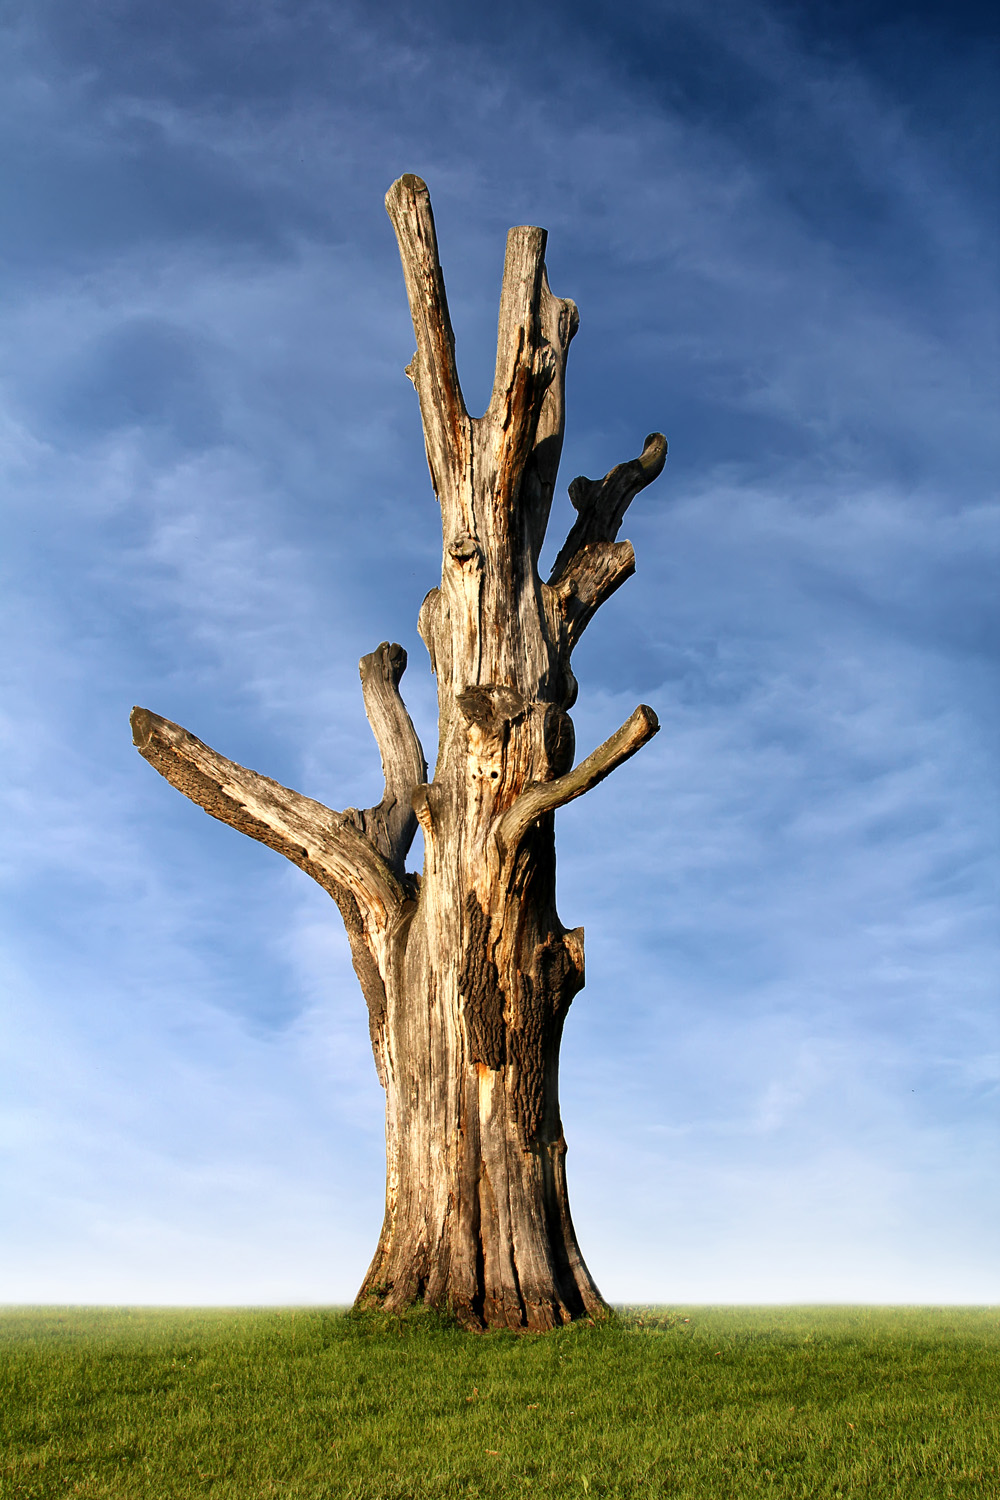
Please download the following files for the tutorial: Forest, Tree andOwl. Click on the image and right-click to download.
Flying Owl Tutorial Summary
Gaussian Blur can be used to blur an image. Gaussian Blur is preferable due to the sliding scale that controls the blur.
Masking is preferable to erasing because it allows users to undo mistakes, whereas erasing is destructive and irreversible (especially when closing files and apps).
The hue and Saturation adjustment is a powerful way to change any image layer’s hue (or colour). It is also effective in removing colour (Desaturate).
Blend Modes are a way to map layers to layers underneath. In this tutorial, we created several Blend Modes (Soft Light, Hard Light), similar to the ones we applied to the Gradient Map and the yellow light on the Owl.
Remove BG is an exclusive method of removing backgrounds in PIXLR. Utilizing AI (Artificial Intelligence), this method automatically identifies objects and removes their background.
PLEASE NOTE: THE IMAGE RESOURCES ARE DIFFERENT, BUT THE STEPS ARE THE SAME